
| 일 | 월 | 화 | 수 | 목 | 금 | 토 |
|---|---|---|---|---|---|---|
| 1 | 2 | 3 | 4 | 5 | 6 | |
| 7 | 8 | 9 | 10 | 11 | 12 | 13 |
| 14 | 15 | 16 | 17 | 18 | 19 | 20 |
| 21 | 22 | 23 | 24 | 25 | 26 | 27 |
| 28 | 29 | 30 |
- TypeScript
- fragment
- Kotlin
- JS
- TextView
- stylesheet
- RecyclerView
- Android
- scrollview
- GoogleMaps
- 랜덤번호
- 자바스크립트
- 오버라이딩
- 스프링부트
- Linux
- Javscript
- array
- React
- Hook
- 랜덤넘버
- SpringBoot
- Java
- 코틀린
- npm
- 안드로이드
- button
- JavaScript
- nodejs
- 리액트
- 구글맵스
- Today
- Total
타닥타닥 개발자의 일상
react / builderX 로 레이아웃 간편하게 만들고 화면에 적용하기 본문
builderX를 이용하면 별다른 코드를 작성하지 않고 쉽게 화면의 레이아웃을 만들수 있다.
BuilderX
BuilderX is a browser based screen design tool that codes React Native & React for you
builderx.io
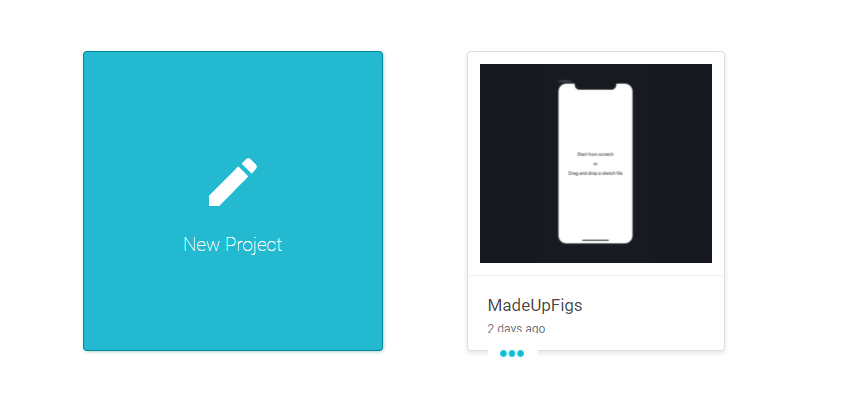
구글 아이디만 있으면 편하게 사용 가능하다.
new project를 클릭하면 새로운 레이아웃을 만들수 있다.
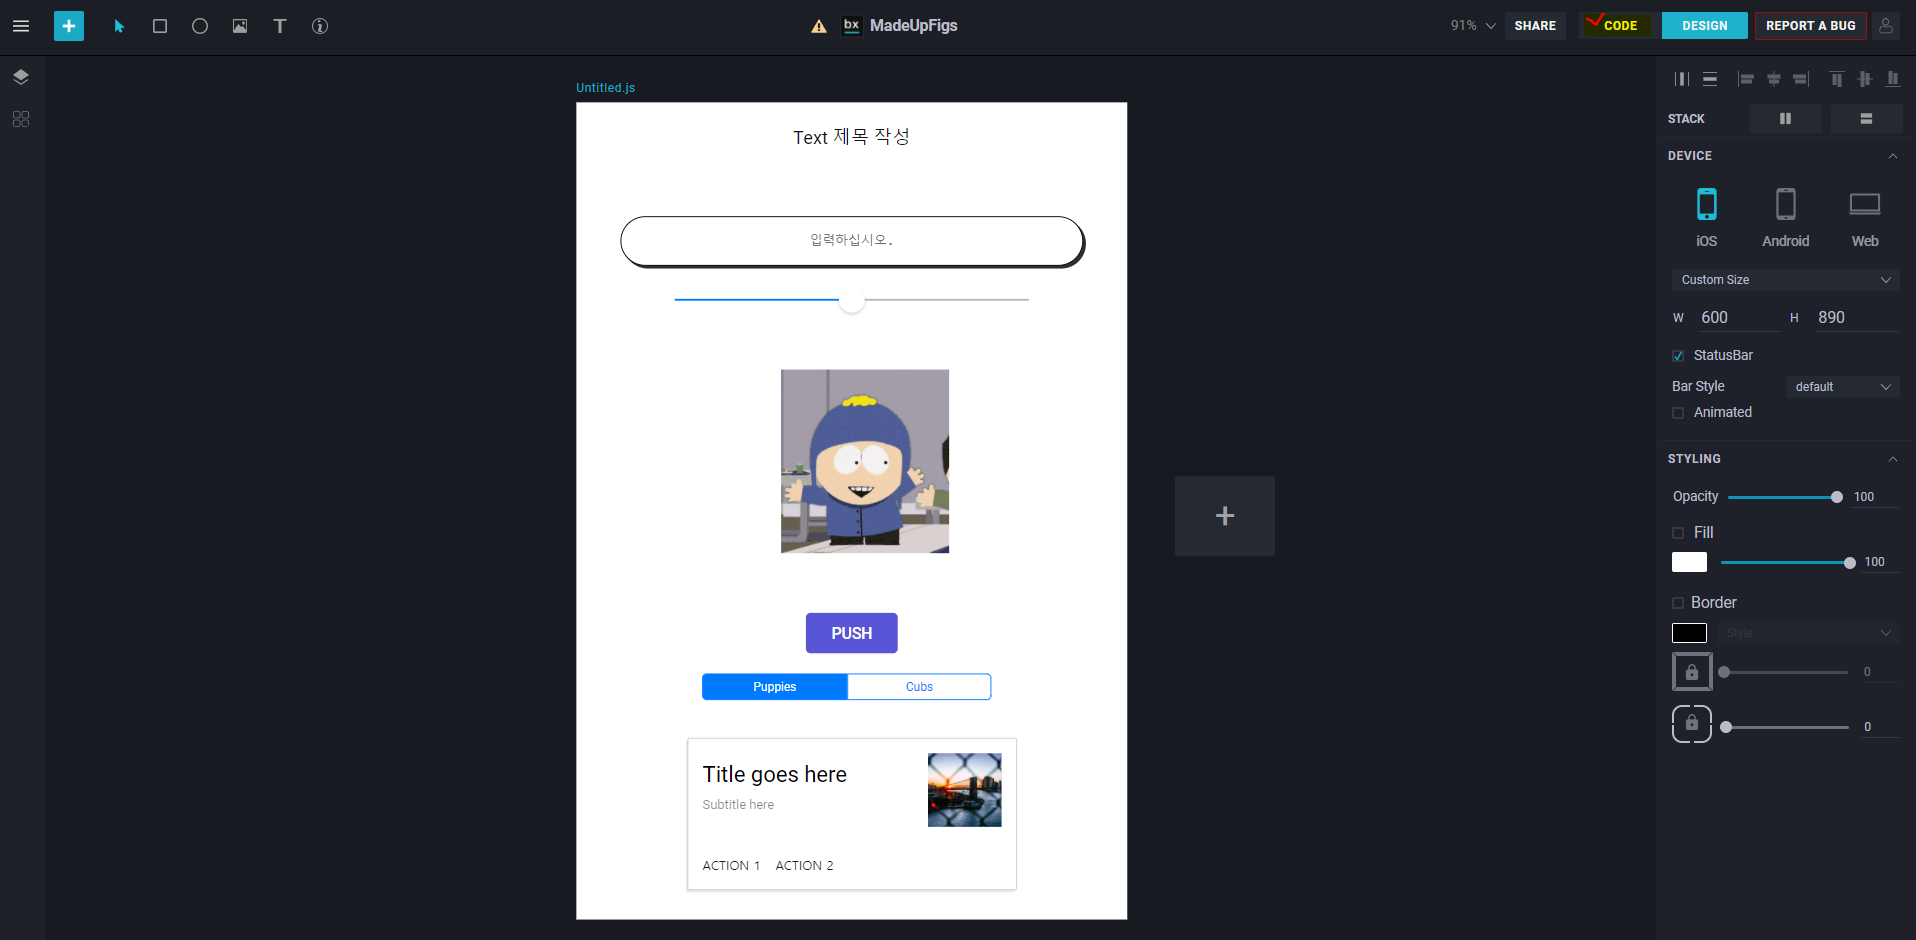
Device로 OS를 설정하고 화면의 크기를 설정하는 기초 설정을 먼저해준다.
그다음 본인이 원하는 소스를 추가해 화면을 구성하면 된다.
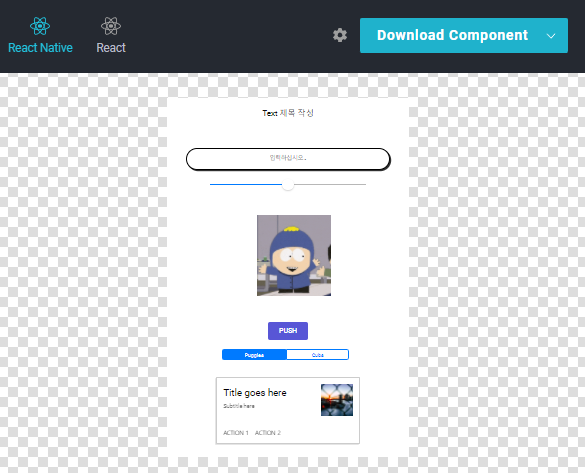
코드를 보기 위해서는 우측 상단의 CODE를 클릭하면 된다.
CODE를 클릭하면 Download Component 버튼이 보이는데 이를 클릭.
다운 받은 component 폴더는 압축을 풀어준다.
우선 다운받은 component를 적용할 react 프로젝트를 만들어줘야한다.
생성문
npx react-native init sampleBD --template react-native-template-typescript
프로젝트를 생성한 다음 폴더를 만들어준다.

src폴더를 생성한다. > src 폴더안에 assets/ components는 다른데서 복붙할 것이므로 따로 생성하지 않는다.
다시 다운받은 component 폴더를 확인해보자.
폴더 안에 있는 src 폴더의 파일들을 이용해야한다.


src 폴더 안에 있는 assets 폴더와 component 폴더를 복사한다.
그리고 react프로젝트 안에 생성했던 src 폴더에 복사 붙여넣기한다.
아직 builderX를 통해 다운받은 component 폴더에서 사용할 파일이 있다.
srceens 폴더 안에 있는 untilted.js 파일의 코드를 모두 복사한다.

복사한 코드를 리액트 프로젝트의 App.tsx에 붙여넣기한다.

바로 복붙을 하면 에러가 난다. 그럴때는 import문의 from에 있는 폴더 위치를 수정해주고
function 이름을 App으로 수정해준다.
제일 하단에 있는 export 문도 default App; 으로 바꿔주면 된다.
import React, { Component } from "react";
import { StyleSheet, View, Text, TextInput, Slider } from "react-native";
import CupertinoButtonPurple1 from "./src/components/CupertinoButtonPurple1";
import CupertinoSegmentWithTwoTabs from "./src/components/CupertinoSegmentWithTwoTabs";
import MaterialCardWithImageAndTitle from "./src/components/MaterialCardWithImageAndTitle";

function App(props:any) {
  return (
    <View style={styles.container}>
      <Text style={styles.text제목작성}>Text 제목 작성</Text>
      <TextInput
        placeholder="입력하십시오."
        style={styles.입력하십시오}
      ></TextInput>
      <Slider value={50} style={styles.slider}></Slider>
      <View style={styles.rect}></View>
      <CupertinoButtonPurple1
        style={styles.cupertinoButtonPurple1}
      ></CupertinoButtonPurple1>
      <CupertinoSegmentWithTwoTabs
        style={styles.cupertinoSegmentWithTwoTabs}
      ></CupertinoSegmentWithTwoTabs>
      <MaterialCardWithImageAndTitle
        style={styles.materialCardWithImageAndTitle}
      ></MaterialCardWithImageAndTitle>
    </View>
  );
}

const styles = StyleSheet.create({
  container: {
    flex: 1
  },
  text제목작성: {
    fontFamily: "roboto-regular",
    color: "#121212",
    height: 51,
    width: 394,
    textAlign: "center",
    fontSize: 20,
    marginTop: 23,
    marginLeft: 103
  },
  입력하십시오: {
    fontFamily: "courier-regular",
    color: "rgba(0,0,0,1)",
    height: 54,
    width: 505,
    textAlign: "center",
    borderWidth: 1,
    borderColor: "#000000",
    shadowColor: "rgba(0,0,0,1)",
    shadowOffset: {
      width: 3,
      height: 3
    },
    elevation: 5,
    shadowOpacity: 0.81,
    shadowRadius: 0,
    borderRadius: 33,
    backgroundColor: "rgba(255,255,255,1)",
    marginTop: 50,
    marginLeft: 48
  },
  slider: {
    height: 31,
    width: 385,
    marginTop: 22,
    marginLeft: 107
  },
  rect: {
    width: 493,
    height: 261,
    backgroundColor: "#E6E6E6",
    marginTop: 50,
    marginLeft: 54
  },
  cupertinoButtonPurple1: {
    height: 44,
    width: 100,
    marginTop: 14,
    marginLeft: 250
  },
  cupertinoSegmentWithTwoTabs: {
    height: 56,
    width: 375,
    marginTop: 8,
    marginLeft: 107
  },
  materialCardWithImageAndTitle: {
    height: 166,
    width: 359,
    marginTop: 28,
    marginLeft: 121
  }
});

export default App;
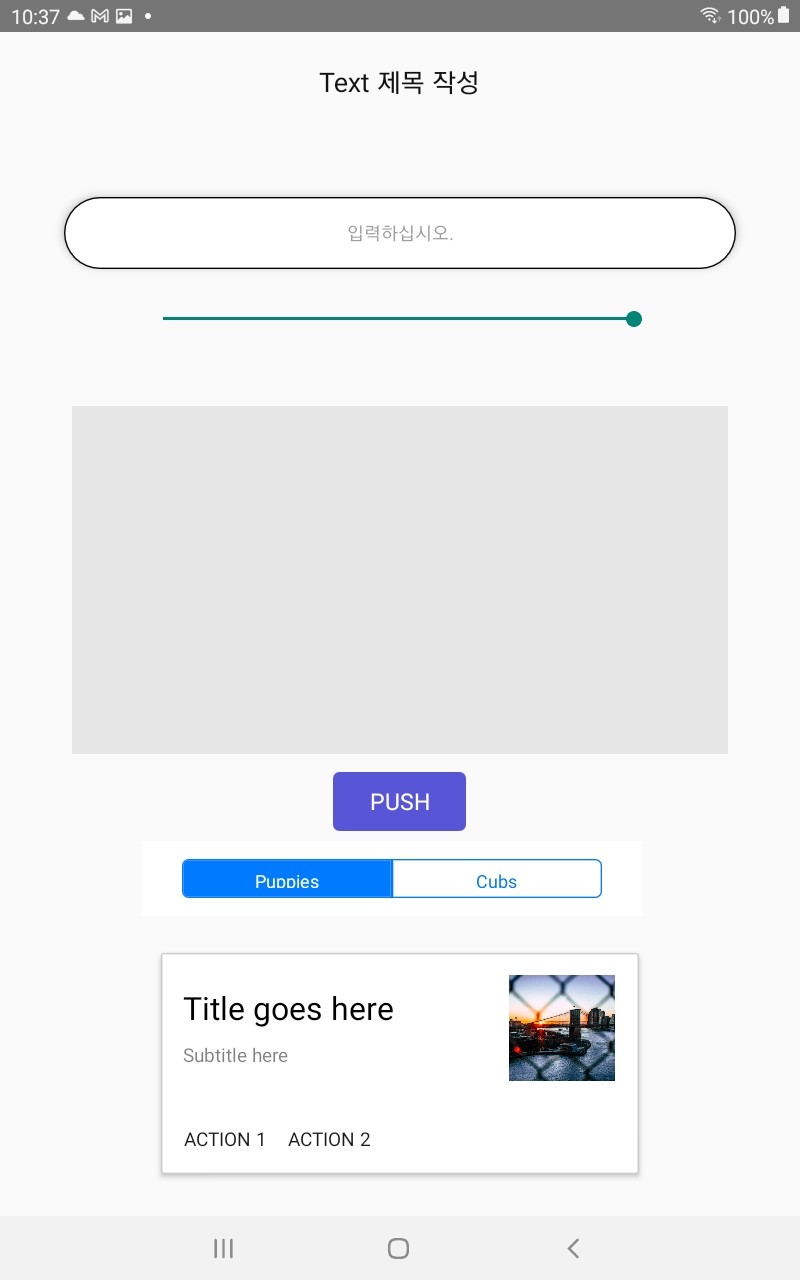
코드를 적용한뒤 실행하면 아래와 같은 화면이 잘 적용되었음을 확인할수 있다.
'코딩 기록 > react' 카테고리의 다른 글
| react / 리액트로 화면에 카메라 구현하고 촬영한 사진 저장하기 (0) | 2022.03.20 |
|---|---|
| react / Axios 이용해서 스프링부트로 만든 웹페이지 안드로이드 화면과 연결시키기 (회원가입/게시판/글작성) (0) | 2022.03.13 |
| react / Navigator로 화면간 이동 가능하게 만들기 (0) | 2022.03.09 |
| react 메인 화면 구성하고 Navigator로 화면 이동하게 만들기 (0) | 2022.03.09 |
| react / TextProvider, useContext 통해서 다른 파일에 있는 값 화면에 구현하기 (0) | 2022.03.09 |


