코딩 기록/Kotlin
Kotlin Fragment 기능 이용해서 안드로이드 화면에 상단 메뉴 만들고 선택에 따라서 화면전환 하기
NomadHaven
2022. 2. 7. 23:28
폴더 및 파일 구성

com.example.sample23 폴더> FragmentMenu , FragmentOne, FragmentTwo, FragmentThee 코틀린 클래스 생성
layout 폴더 > activity_fragment_menu.xml, activity_fragment_one.xml, activity_fragment_two.xml, activity_fragment_three.xml 파일 생성
activity_fragment_menu.xml
<?xml version="1.0" encoding="utf-8"?>
<LinearLayout xmlns:android="http://schemas.android.com/apk/res/android"
android:orientation="horizontal"
android:layout_width="match_parent"
android:layout_height="match_parent">
<Button
android:text="First"
android:layout_width="wrap_content"
android:layout_height="wrap_content"
android:id="@+id/button1"
android:onClick="onClick"
android:layout_weight="1"/>
<Button
android:text="Second"
android:layout_width="wrap_content"
android:layout_height="wrap_content"
android:id="@+id/button2"
android:onClick="onClick"
android:layout_weight="1"/>
<Button
android:text="Third"
android:layout_width="wrap_content"
android:layout_height="wrap_content"
android:id="@+id/button3"
android:onClick="onClick"
android:layout_weight="1"/>
</LinearLayout>
activity_fragment_one.xml
<?xml version="1.0" encoding="utf-8"?>
<androidx.constraintlayout.widget.ConstraintLayout
        xmlns:android="http://schemas.android.com/apk/res/android"
        xmlns:tools="http://schemas.android.com/tools"
        xmlns:app="http://schemas.android.com/apk/res-auto"
        android:layout_width="match_parent"
        android:layout_height="match_parent">

    <TextView
            android:text="First Fragment"
            android:textSize="30sp"
            android:layout_width="wrap_content"
            android:layout_height="wrap_content"
            app:layout_constraintStart_toStartOf="parent"
            app:layout_constraintEnd_toEndOf="parent"
            app:layout_constraintBottom_toBottomOf="parent"
            app:layout_constraintTop_toTopOf="parent"/>

</androidx.constraintlayout.widget.ConstraintLayout>
activity_fragment_two.xml
<?xml version="1.0" encoding="utf-8"?>
<androidx.constraintlayout.widget.ConstraintLayout
xmlns:android="http://schemas.android.com/apk/res/android"
xmlns:tools="http://schemas.android.com/tools"
xmlns:app="http://schemas.android.com/apk/res-auto"
android:background="#0000ff" //배경색 설정, 파랑
android:layout_width="match_parent"
android:layout_height="match_parent">
<TextView
android:text="Second Fragment"
android:textSize="30sp"
android:layout_width="wrap_content"
android:layout_height="wrap_content"
app:layout_constraintStart_toStartOf="parent"
app:layout_constraintEnd_toEndOf="parent"
app:layout_constraintBottom_toBottomOf="parent"
app:layout_constraintTop_toTopOf="parent"/>
</androidx.constraintlayout.widget.ConstraintLayout>
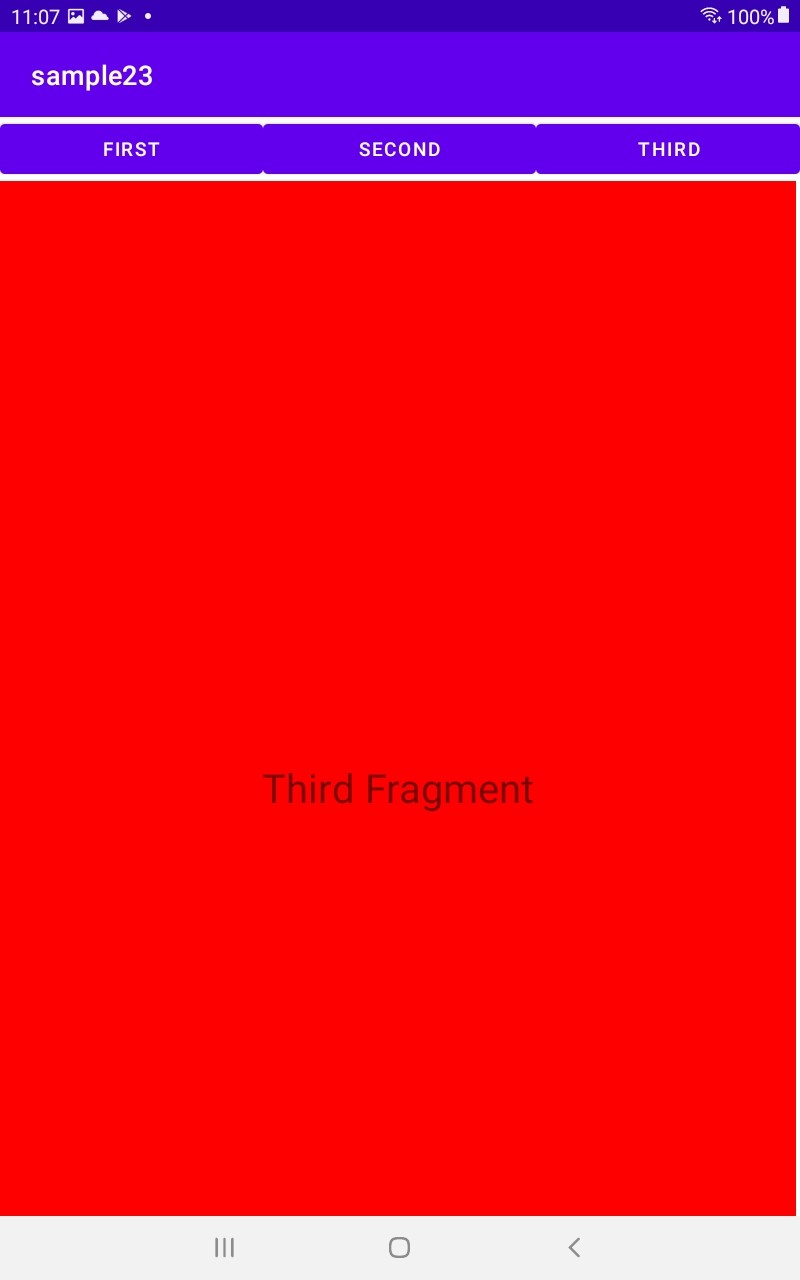
activity_fragment_three.xml
<?xml version="1.0" encoding="utf-8"?>
<androidx.constraintlayout.widget.ConstraintLayout
        xmlns:android="http://schemas.android.com/apk/res/android"
        xmlns:tools="http://schemas.android.com/tools"
        xmlns:app="http://schemas.android.com/apk/res-auto"
        android:background="#ff0000" // 배경색 설정. 빨강
        android:layout_width="match_parent"
        android:layout_height="match_parent">

    <TextView
            android:text="Third Fragment"
            android:textSize="30sp"
            android:layout_width="wrap_content"
            android:layout_height="wrap_content"
            app:layout_constraintStart_toStartOf="parent"
            app:layout_constraintEnd_toEndOf="parent"
            app:layout_constraintBottom_toBottomOf="parent"
            app:layout_constraintTop_toTopOf="parent"/>

</androidx.constraintlayout.widget.ConstraintLayout>
activity_main.xml
<?xml version="1.0" encoding="utf-8"?>
<androidx.constraintlayout.widget.ConstraintLayout
        xmlns:android="http://schemas.android.com/apk/res/android"
        xmlns:tools="http://schemas.android.com/tools"
        xmlns:app="http://schemas.android.com/apk/res-auto"
        android:layout_width="match_parent"
        android:layout_height="match_parent"
        tools:context=".MainActivity">

    <fragment
            android:layout_width="match_parent"
            android:layout_height="wrap_content"
            android:id="@+id/fragment_menu"
            android:name="com.example.sample23.FragmentMenu"
            tools:layout="@layout/activity_fragment_menu"
            tools:ignore="MissingConstraints"/>

    <FrameLayout
            android:id="@+id/content"
            android:layout_width="598dp"
            android:layout_height="910dp"
            app:layout_constraintTop_toBottomOf="@+id/fragment_menu"
            app:layout_constraintStart_toStartOf="parent">
    </FrameLayout>


</androidx.constraintlayout.widget.ConstraintLayout>
FragmentMenu.kt
package com.example.sample23

import android.os.Bundle
import android.view.LayoutInflater
import android.view.View
import android.view.ViewGroup
import androidx.fragment.app.Fragment

class FragmentMenu : Fragment() {
    override fun onCreateView(inflater: LayoutInflater, container: ViewGroup?, savedInstanceState: Bundle?): View? {
        return inflater.inflate(R.layout.activity_fragment_menu, container, false)
        //Fragment  상속받고 layout 폴더의 activity_fragment_menu.xml 파일과 연결. 이를 화면에 띄운다.
    }
}
FragmentOne.kt
package com.example.sample23

import android.os.Bundle
import android.view.LayoutInflater
import android.view.View
import android.view.ViewGroup
import androidx.fragment.app.Fragment

class FragmentOne: Fragment() {
    override fun onCreateView(inflater: LayoutInflater, container: ViewGroup?, savedInstanceState: Bundle?): View? {
        return inflater.inflate(R.layout.activity_fragment_one, container, false)
         //Fragment  상속받고 layout 폴더의 activity_fragment_one.xml 파일과 연결. 이를 화면에 띄운다.
    }
}
FragmentTwo.kt
package com.example.sample23

import android.os.Bundle
import android.view.LayoutInflater
import android.view.View
import android.view.ViewGroup
import androidx.fragment.app.Fragment

class FragmentTwo: Fragment() {
    override fun onCreateView(inflater: LayoutInflater, container: ViewGroup?, savedInstanceState: Bundle?): View? {
        return inflater.inflate(R.layout.activity_fragment_two, container, false)
    }
}
FragmentThree.kt
package com.example.sample23

import android.os.Bundle
import android.view.LayoutInflater
import android.view.View
import android.view.ViewGroup
import androidx.fragment.app.Fragment

class FragmentThree: Fragment() {
    override fun onCreateView(inflater: LayoutInflater, container: ViewGroup?, savedInstanceState: Bundle?): View? {
        return inflater.inflate(R.layout.activity_fragment_three, container, false)
    }
}
MainActivity.kt
package com.example.sample23

import androidx.appcompat.app.AppCompatActivity
import android.os.Bundle
import android.util.Log
import android.view.View
import androidx.fragment.app.Fragment

class MainActivity : AppCompatActivity(), View.OnClickListener {
    override fun onCreate(savedInstanceState: Bundle?) {
        super.onCreate(savedInstanceState)
        setContentView(R.layout.activity_main)

        val fm = supportFragmentManager
        val fragmentTransaction = fm.beginTransaction()
        fragmentTransaction.add(R.id.content, FragmentOne())
        fragmentTransaction.commit()
    }

    override fun onClick(v: View?) {
        Log.d("버튼 클릭!", "버튼 클릭!")

        var fr: Fragment? = null

        if(v?.id == R.id.button1){
            fr = FragmentOne() //button1이 선택되면 FragmentOne을 보인다
        } else if(v?.id == R.id.button2){
            fr = FragmentTwo() //button2이 선택되면 FragmentTwo를 보인다
        } else if(v?.id == R.id.button3){
            fr = FragmentThree() //button3이 선택되면 FragmentThree를 보인다
        }

        val fm = supportFragmentManager
        val fragmentTransaction = fm.beginTransaction()

        // fragment 교체
        fragmentTransaction.replace(R.id.content, fr!!)
        fragmentTransaction.commit()
    }
}
결과화면