코딩 기록/Kotlin
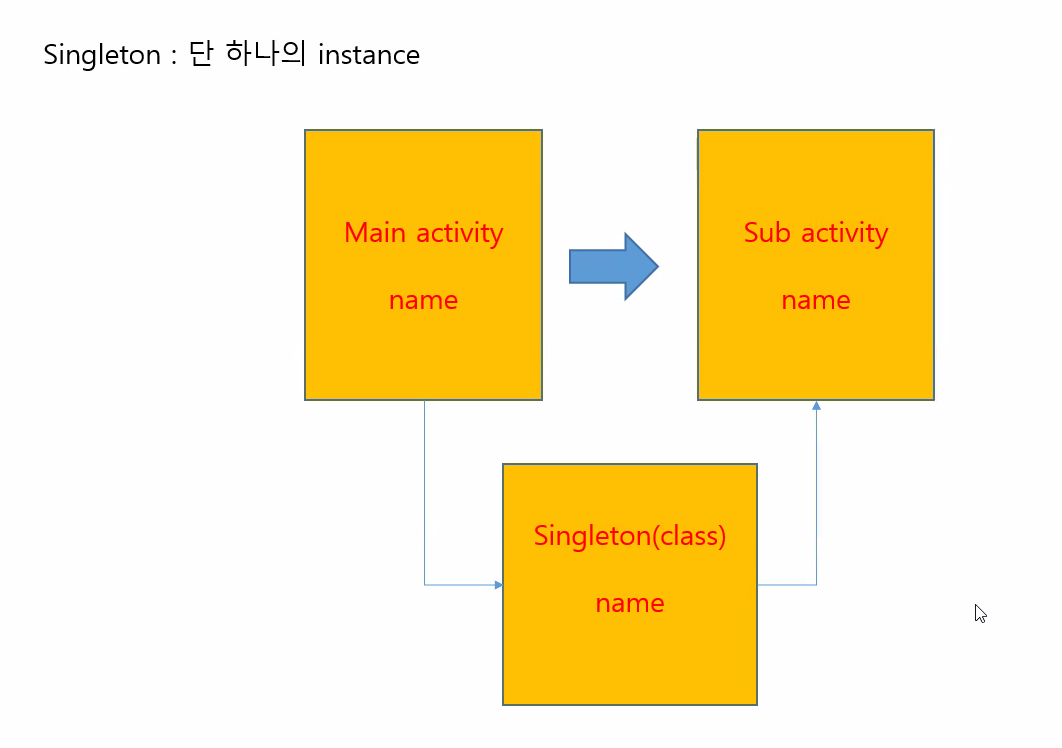
kotlin 코틀린 싱클턴 singleton 이용해서 데이터 다음 화면으로 넘기기 / 첫번째 화면에서 singleton으로 받은 자료 다음 화면에 출력하는 안드로이드 화면 만들기
NomadHaven
2022. 2. 10. 22:26
폴더 및 파일 구성

com.example.sample35 폴더 우클릭 > 새로 만들기 > Empty Activity > SubActivity 만들기
com.example.sample35 폴더 우클릭 > 새로 만들기 > 클래스 > Singleton
activity_main.xml
<?xml version="1.0" encoding="utf-8"?>
<androidx.constraintlayout.widget.ConstraintLayout
        xmlns:android="http://schemas.android.com/apk/res/android"
        xmlns:tools="http://schemas.android.com/tools"
        xmlns:app="http://schemas.android.com/apk/res-auto"
        android:layout_width="match_parent"
        android:layout_height="match_parent"
        tools:context=".MainActivity">
    <EditText
            android:layout_width="438dp"
            android:layout_height="116dp"
            android:inputType="textPersonName"
            android:ems="10"
            android:id="@+id/editText"
            app:layout_constraintTop_toTopOf="parent"
            app:layout_constraintBottom_toBottomOf="parent" app:layout_constraintEnd_toEndOf="parent"
            app:layout_constraintStart_toStartOf="parent" app:layout_constraintHorizontal_bias="0.567"
            app:layout_constraintVertical_bias="0.348"/>
    <Button
            android:text="Button"
            android:layout_width="266dp"
            android:layout_height="104dp" android:id="@+id/move"
            app:layout_constraintTop_toBottomOf="@+id/editText"
            app:layout_constraintBottom_toBottomOf="parent" app:layout_constraintStart_toStartOf="parent"
            app:layout_constraintEnd_toEndOf="parent" app:layout_constraintVertical_bias="0.169"/>
</androidx.constraintlayout.widget.ConstraintLayout>
activity_sub.xml
<?xml version="1.0" encoding="utf-8"?>
<androidx.constraintlayout.widget.ConstraintLayout
        xmlns:android="http://schemas.android.com/apk/res/android"
        xmlns:tools="http://schemas.android.com/tools"
        xmlns:app="http://schemas.android.com/apk/res-auto"
        android:layout_width="match_parent"
        android:layout_height="match_parent"
        tools:context=".SubActivity">

    <TextView
            android:text="TextView"
            android:layout_width="403dp"
            android:layout_height="109dp"
            android:id="@+id/textView"
            android:textSize="30dp"
            app:layout_constraintTop_toTopOf="parent"
            app:layout_constraintBottom_toBottomOf="parent"
            :layout_constraintEnd_toEndOf="parent"
            app:layout_constraintStart_toStartOf="parent"
            app:layout_constraintVertical_bias="0.474"
            app:layout_constraintEnd_toEndOf="parent"/>
</androidx.constraintlayout.widget.ConstraintLayout>
Singleton.kt
package com.example.sameple35

class Singleton {
    companion object{
        var chicken: String? = null
    }
}
<자바와 비교>
class Singleton{
        private static Singleton st = null
        int number


       싱글턴은 딱 한번만 생성
       private Singleton(){
       }

       public static Singleton getInstance(){
        if(st == null){
            st = new Singleton()
            }
            return st
       }
 }

    st.number = number

    number = st.number
MainActivity.kt
package com.example.sameple35

import android.content.Intent
import androidx.appcompat.app.AppCompatActivity
import android.os.Bundle
import android.widget.Button
import android.widget.EditText

class MainActivity : AppCompatActivity() {
    override fun onCreate(savedInstanceState: Bundle?) {
        super.onCreate(savedInstanceState)
        setContentView(R.layout.activity_main)

        val editText = findViewById<EditText>(R.id.editText)
        val move = findViewById<Button>(R.id.move)

        move.setOnClickListener {
            Singleton.chicken = editText.text.toString()
            //싱글턴 클래스의 chicken 변수에 입력받은 데이터 저장

            val intent = Intent(this, SubActivity::class.java)
            startActivity(intent)
            //SubActivity로 이동

        }
    }
}
SubActivity.kt
package com.example.sameple35

import androidx.appcompat.app.AppCompatActivity
import android.os.Bundle
import android.widget.TextView

class SubActivity : AppCompatActivity() {
    override fun onCreate(savedInstanceState: Bundle?) {
        super.onCreate(savedInstanceState)
        setContentView(R.layout.activity_sub)

        val textView = findViewById<TextView>(R.id.textView)

        textView.text = Singleton.chicken
        //싱글톤 chicken 변수에 담은 데이터를 textView에 출력


    }
}
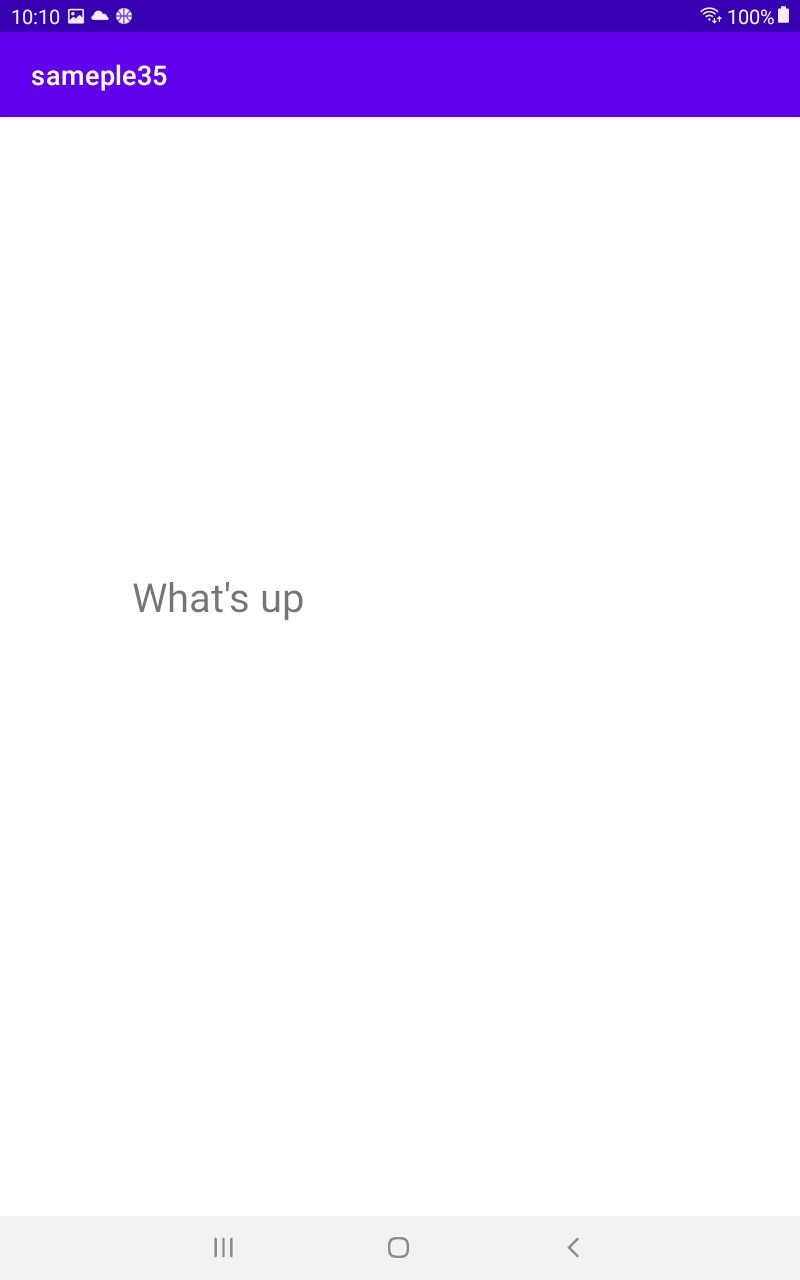
실행 화면